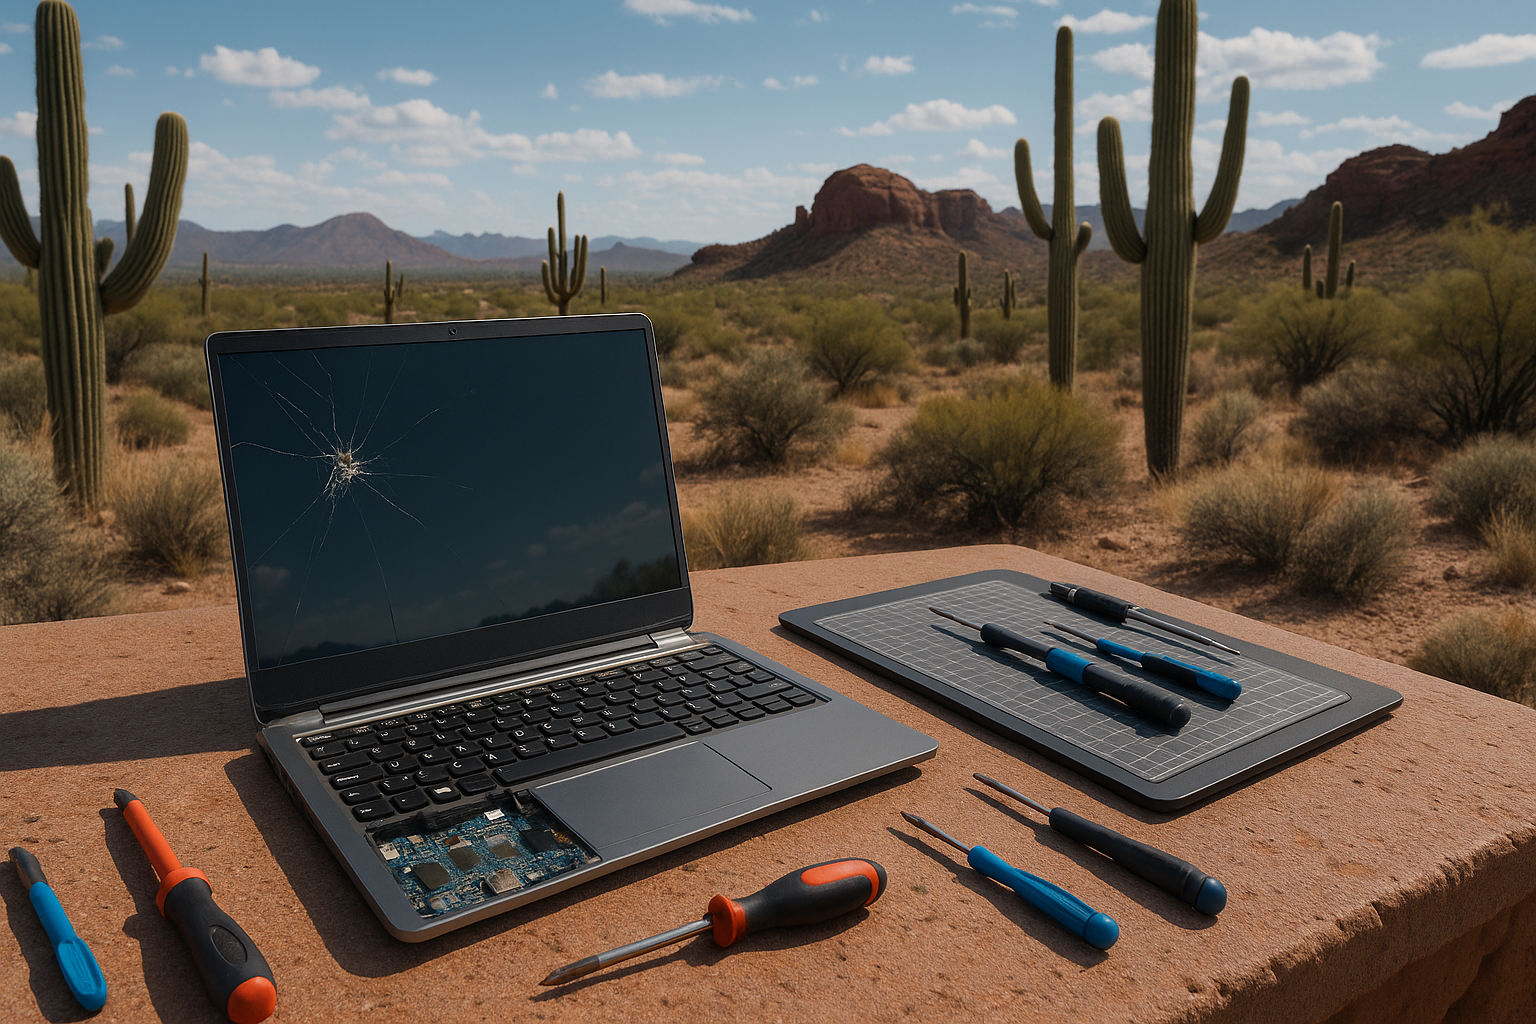
Your laptop screen took a hit—maybe a hairline crack after a late-night work sprint, maybe flickering lines after a hot afternoon in the backyard. It happens. Screens are tough; they’re fragile too. If you’re a Phoenix homeowner juggling remote work, school, Netflix, and a cat who insists your keyboard is a bed, you need straight talk on what’s fixable, what’s worth your time, and when a pro is the smarter move. This guide from Arizona Screen Company breaks it down with practical tips, local know-how, and a few friendly warnings. You’ll save time, avoid costly mistakes, and yes—get back to a screen you can trust.
Contents
- 1 So what’s actually wrong with your screen?
- 2 Safety first, Phoenix—then the tools
- 3 Arizona problems: heat, dust, and the occasional splash
- 4 DIY, step-by-step: a standard LCD panel swap
- 5 When you shouldn’t DIY (no judgment here)
- 6 Temporary fixes that buy you time
- 7 Repair vs. replace: a quick Phoenix cheat sheet
- 8 Everyday habits that extend screen life at home
- 9 Why Arizona Screen Company for laptop screens?
- 10 Quick FAQs homeowners ask us
- 11 Ready to see clearly again?
So what’s actually wrong with your screen?
You don’t have to be a technician to read the clues. The symptoms tell a story, and that story usually points you to the fix.
- Cracks or “ink” blotches — That’s a broken LCD panel. You’ll see spiderweb cracks or black splotches that spread when pressed. That calls for a panel replacement.
- Vertical lines that move when you flex the lid — Likely a loose or failing display ribbon cable, sometimes called the eDP cable.
- Flicker or sudden blackouts — Could be the backlight, the inverter (on older models), or GPU-related. Don’t panic yet.
- Stuck or dead pixels — One bright dot or a tiny dark spot? Sometimes you can nudge it back with software.
- Nothing on the screen, but fans spin — Test with an external monitor. If the external display works, your screen or cable is the suspect.
Here’s the thing: Always run a quick test before you buy parts. Plug the laptop into an external monitor or TV with HDMI or USB‑C. If that works, your internal display hardware is at fault. If not, you may have a graphics or motherboard issue. For a dim screen that only shows faint shapes, shine a flashlight at an angle—if you see a ghost image, the backlight or power to it is failing.
You know what? A five‑minute test can save you five days of frustration.
Related search tip: Look up your exact model with phrases like “laptop screen repair Phoenix” or “MacBook screen repair Phoenix AZ” to compare parts and service options near you.
Safety first, Phoenix—then the tools
Before you touch a screw, do the basics. Power the laptop down. Unplug the charger. If possible, disconnect the battery (many Windows laptops allow that; MacBooks usually don’t without opening the case). Ground yourself to reduce static. Work on a clean, soft surface—a folded towel beats a granite counter every time.
Tools we actually use:
- Precision screwdriver set — iFixit, Wiha, or Husky; you’ll want small Phillips and Torx bits.
- Plastic spudger and guitar pick — To pop bezels without chewing them up.
- Magnetic parts mat — Tape and a notepad also work; label your screws by location.
- Kapton or painter’s tape — For holding fragile connectors in place during reassembly.
Where to source parts:
– Laptop panels: LaptopScreen.com, eBay, Amazon. For specs, Panelook is helpful. Grab your model number from Settings or the bottom cover, and the panel part number from the original screen if you can.
– Touchscreens and laminated glass: These are trickier. Many newer HP Spectre, Dell XPS, and MacBook displays come as full assemblies. Replacement is still possible—just more specialized.
SEO tip: If you’re shopping, search “laptop screen replacement cost Phoenix” to get a fair local price range.
Arizona problems: heat, dust, and the occasional splash
Phoenix heat is no joke. Heat expands plastics and metals; cables stretch and contract. A flaky backlight or a line that appears after the laptop bakes in a parked car? Not surprising. Keep your machine out of direct sun. Even 15 minutes on a dashboard can cook an LCD.
Monsoon dust sneaks under bezels and into hinge areas. A soft brush and a burst of compressed air around the hinges can keep grit from grinding cables. Also, consider a quality screen protector. If you like working outdoors, choose a matte replacement panel when possible—it reduces glare on bright Mesa patios and backyard setups in Scottsdale.
Small water splash on a closed lid? Wipe it off and let it air out. Liquid pushed into the bezel can wick right onto the panel or the digitizer.
DIY, step-by-step: a standard LCD panel swap
Let me explain: not every laptop is DIY‑friendly, but a lot of non‑touch Windows laptops are. Think ThinkPad T‑series, older HP Pavilion, many Acer and ASUS models. Here’s a simplified path.
1. Open it up the right way
– Power down. Unplug. If you can, disconnect the battery.
– Remove the bezel. Some bezels snap off with gentle prying; others hide screws under tiny covers. Take your time—plastic clips like patience.
2. Free the panel
– Tilt the panel forward after removing the side screws. Lay it face down on the keyboard with a microfiber cloth in between.
– Locate the ribbon cable. There’s a tiny lock—usually a flip tab or a pull latch. Don’t tug the cable. Release the lock, then pull the connector straight out.
3. Swap and test
– Plug the new panel’s ribbon in fully. Lock it down. Use a small strip of Kapton or painter’s tape if the original had some.
– Before closing anything, power on and test. If it lights up cleanly, great. If not, re‑seat the connector. Loose by a millimeter can mean no image.
4. Button it up
– Reinstall screws. Snap the bezel back.
– Clean the screen with a soft cloth and 70 percent isopropyl alcohol. No Windex. No paper towels.
Typical time: 30 to 60 minutes if it’s your first rodeo. Typical panel price in Phoenix: 45 to 120 dollars for non‑touch. MacBook or bonded glass assemblies can run 200 to 500 dollars for parts alone.
Keyword to know: Many homeowners search for “DIY laptop screen repair” to compare pricing and steps. Just make sure you’re matching the exact panel type and connector location.
When you shouldn’t DIY (no judgment here)
Some laptops fight back. MacBook Pro Retina displays, Dell XPS edge‑to‑edge glass, Microsoft Surface devices, and most touchscreens with bonded digitizers aren’t friendly. Adhesive, tiny connectors, and sensors like True Tone and ambient light can throw curveballs.
– If your camera sits misaligned after a screen swap, video calls look off. Fixable, but fussy.
– If your machine is under AppleCare or a premium warranty, DIY can void coverage.
– Liquid damage spreads under chips; screen damage might just be the start.
– Hinges that wobble or bind can crack the new screen again.
That’s where a Phoenix tech who handles these models daily earns their keep. Sometimes paying for experience is cheaper than buying parts twice.
Temporary fixes that buy you time
Need a stopgap during a busy week?
– Use an external monitor: HDMI or USB‑C to a TV or desktop monitor works fast. Close the lid and run it in clamshell mode if your laptop supports it.
– Lower brightness: A failing backlight often behaves better at 40 to 60 percent brightness.
– Stuck pixel tools: Try JScreenFix in a browser for 10 minutes. It won’t fix dead pixels, but it can free a stuck one.
– Hinge check: If the screen flickers as you adjust the lid, open the base and check hinge screws. Tighten, but don’t overdo it.
– Screen protector on cracked glass: It can hold shards long enough to back up data—and protect your fingers.
Repair vs. replace: a quick Phoenix cheat sheet
| Issue | DIY friendly? | Est. cost/time (PHX) |
|---|---|---|
| Cracked non‑touch LCD (HP/Lenovo/Acer) | Usually yes | $45–$120 parts, 1 hour |
| Vertical lines when moving the lid | Often yes (cable) | $15–$40 cable, 1–2 hours |
| Black screen, works on external monitor | Yes, panel or cable | $60–$150, 1–2 hours |
| Touchscreen glass cracked | Usually no | $180–$400+, 1–3 days |
| MacBook Pro Retina display | Not recommended | $250–$600+, 1–3 days |
| Liquid damage | No | Varies; diagnose first |
Local keyword note: Many homeowners compare “laptop screen repair Phoenix AZ” vs. replacement costs. The table above gives a realistic range.
Everyday habits that extend screen life at home
Most damage isn’t dramatic—it’s daily wear. A few small habits help.
– Don’t close the lid on anything: Even a pen can shatter a panel.
– Lift from the middle: Twisting the corner flexes the glass and the hinges.
– Keep it cool: Don’t leave your laptop in the car. Phoenix summer warps plastics and stresses LEDs.
– Clean gently: Use a microfiber cloth and 70 percent isopropyl alcohol. No household glass cleaners; they leave streaks and film.
– Dust the hinges: A soft brush keeps grit from grinding the cable.
– Use a sleeve: Especially if you move between rooms or work by the pool.
Kids and pets? They’re part of the story. A snap‑on hard shell plus a tempered glass protector on non‑touch screens adds just enough armor without turning your laptop into a tank.
Why Arizona Screen Company for laptop screens?
We live and work in the Valley, and we know screens—windows, doors, and yes, laptops. That desert heat and dust? We plan for it. Our team handles straightforward LCD swaps, trickier touch assemblies, and those “it flickers only when I open it halfway” cable gremlins. We service homeowners across Phoenix, Scottsdale, Tempe, Chandler, and Mesa with clear pricing, friendly advice, and fast turnarounds.
– Same‑week repairs for common models
– Quality parts we’d use on our own machines
– Clear estimates before any work
– Warranty support on parts and labor
If your screen is special—XPS, Surface, MacBook Pro Retina—we’ll tell you straight and recommend the right path. No upsell, no mystery fees.
Quick FAQs homeowners ask us
– Can I fix a cracked screen without replacing it? Not if the LCD is damaged. Cosmetic glass on some models can be replaced, but many modern panels are bonded and come as one unit.
– Will a repair wipe my data? Screen work doesn’t touch your files. Still, back up before any repair—always a good habit.
– How long does a typical repair take? Many non‑touch panels take about an hour. Touch or bonded glass can take longer, especially if parts need to be ordered.
– Is heat causing my lines or flicker? It can. Heat stresses the eDP cable and backlight. If problems appear after the laptop sits in a hot car, let it cool, then test again.
– Is DIY worth it? For standard LCDs, yes. For touchscreens and premium ultrabooks, a pro usually saves time and risk.
Ready to see clearly again?
Screens should disappear while you work and relax—they shouldn’t steal your focus. If you’re wrestling with a cracked panel, lines across the display, or a moody backlight, we can help you sort it fast. Call Arizona Screen Company at 480-771-2543 for friendly guidance and a straight estimate, or send a note and Request a Free Quote. We’ll get your laptop back to bright, crisp, and worry‑free—so you can get back to real life.


