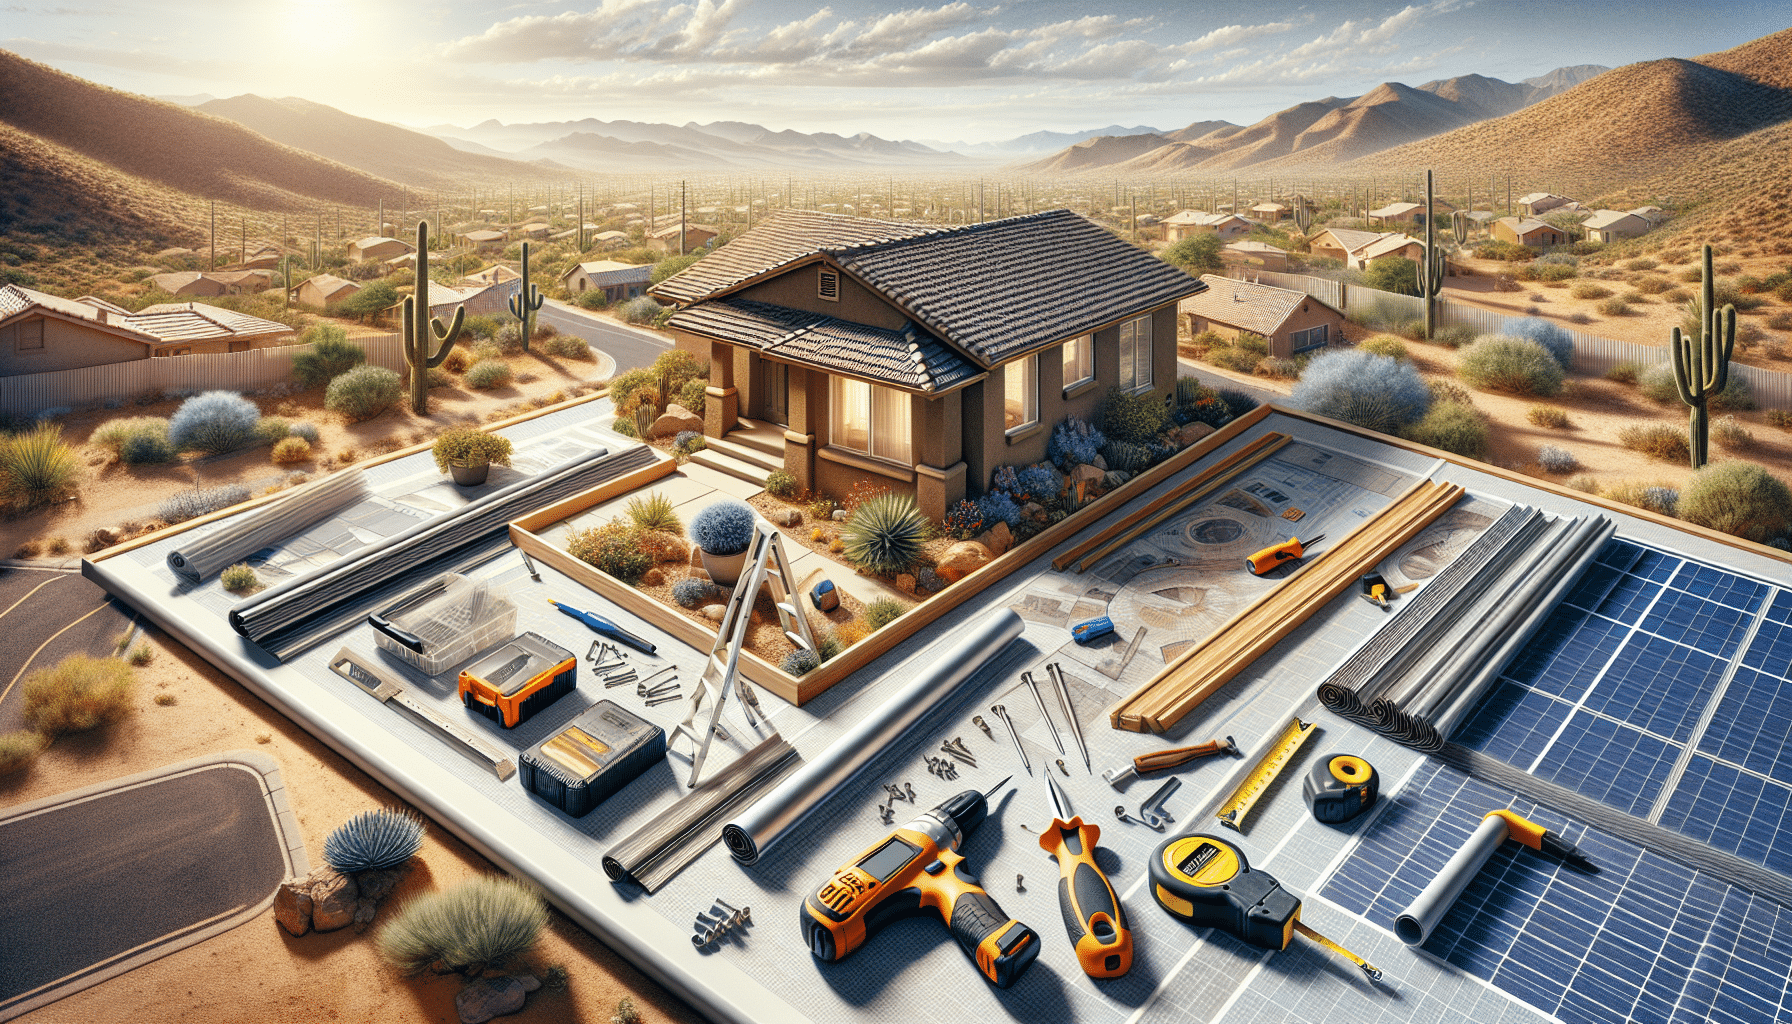
When the blazing Arizona sun starts turning your home into an oven, you might find yourself searching for a way to cool things down. That’s where Window Solar Screens come to the rescue, offering an easy solution to beat the heat. At Arizona Screen Company, we understand that homeowners want efficient and cost-effective solutions. This blog post will arm you with DIY installation tips, ensuring your home stays cool and comfortable without breaking the bank.
Contents
Understanding Solar Screens
Solar screens are specially designed window coverings that block a significant amount of solar energy before it enters your home. Their ability to reduce glare and heat makes them an ideal choice for Arizonian homeowners like you. Best of all, they’re a breeze to install!
These screens are made from a dense mesh material that effectively deflects heat, keeping your interiors notably cooler. By investing a little time and effort, you can reap the benefits of solar screens yourself. Embracing the DIY spirit is affordable and gives you the satisfaction of fortifying your home against the sun’s relentless rays.
Gathering Your Installation Tools
Before you dive into the installation process, having the right tools is crucial for a smooth experience. Proper preparation avoids unnecessary hiccups.
You’ll need a few basic tools such as a tape measure, a roller knife, a spline roller, and some screws. Don’t worry if this sounds like jargon right now—each tool plays an integral role in ensuring the screens fit snugly and securely onto your windows.
Measuring Your Windows
Accurate measurements are the backbone of a clean installation. Trust us; precision here leads to a much more satisfying result.
Start by measuring the width and height of the window frame. Do this twice! Record your measurements and choose solar screens that best accommodate these dimensions. With accurate figures in hand, you’ll avoid complications later in the installation process.
Cutting Your Solar Screen
Once you have your solar screens, it’s time to cut them to fit each window. Sounds intimidating? It’s easier than you think.
Lay the screen on a flat surface and transfer your window measurements onto the material. Use a roller knife for a clean cut, adding an extra inch to ensure a proper fit during installation. This method ensures you have enough material to work with when assembling the screen.
Framing the Screen
The frame is what keeps your screen in place, making this step vital. While it might seem complex, it’s actually one of the most rewarding phases of your DIY adventure.
Attach the cut solar screen to the frame, ensuring it’s taut and even. Use a spline roller to press a rubber spline into the frame groove, securing the screen material effectively. At this point, patience is key; a tight fit ensures longevity and optimum performance against the heat.
Installing the Screen
Finally, it’s time to bring everything together and mount your screen onto the window. This is where you’ll see the fruits of your labor materializing into energy savings.
Carefully position the screen onto your window. Then, secure the frame with screws, ensuring it fits snugly against the window sill. Voila! A successful installation will not only cool your home but also boost its aesthetic appeal.
Benefits of DIY Solar Screens
Installing solar screens by yourself isn’t just cost-effective. It comes with a host of other perks.
- Cost Savings: Doing it yourself defers labor costs, leaving you with more cash in your pocket.
- Custom Fit: Tailor each screen to your exact needs, ensuring a snug, professional-looking fit.
- Skill Building: DIY projects enhance your skills and confidence, preparing you for future home improvement endeavors.
- Immediate Gratification: Reap the rewards of cooler interiors as soon as your last screw is tightened.
- Environmental Impact: Reduced energy consumption means you’re doing your bit for the planet too.
Common Installation Mistakes
Even with the best intentions, mistakes happen. Here’s how to avoid the most common pitfalls.
Some DIY enthusiasts overlook the importance of accurate measurements. Remember, precision is your best friend. Additionally, don’t rush the framing process. Taking your time ensures the screen is securely fitted and avoids wrinkles in the material, which can become a visual distraction.
Maintenance Tips for Longevity
Keep your solar screens in top-notch condition with minimal effort. The right care today means savings tomorrow.
Regular cleaning with mild soap and water prevents dust and debris buildup. Moreover, checking the frames and spline periodically helps you catch potential issues before they become major problems. A little care goes a long way, extending the utility and aesthetics of your investment.
Why Choose Arizona Screen Company?
With a myriad of options out there, why should you entrust your cooling needs to us? Simply put, we blend quality with expertise and tailor our offerings to suit your specific needs.
Our Products are designed to withstand Arizona’s harsh climate, ensuring durability and performance. Additionally, our team is always ready to assist; whether you have questions or need professional help, we are just a call away.
Ready to beat the heat with custom window solar screens? Call us at 480-771-2543 or Request a Free Quote today.


